Wednesday, March 30, 2011

Inside my House Part 1- Guest Room

I have already posted about the exterior of my home so I thought that now I would offer a glimpse inside! Our house is a 1923 Craftsman Bungalow located in a historic district. We have been featured in our community's annual home tour twice in the 8 years we have lived here! One of the favorite rooms in our house is our guest bedrooom.  I have done it in a cottage style using mostly garage sale finds and other things I have picked up in thrift stores or antique shops.


 I have used Wicker chairs for the seating area that I picked up on sale at Pier 1.  The white iron bed was a garage sale find over 25 years ago for $30!! I made the pillows and table cloth -it is actually covering a yellow pottery barn table a garage sale find for $15!! The window treatment is a tablecolth draped over a white pole type rod. The lace curtained entryway is the "dressing room" - more on that later!

Now for some of the accessories in the room :


The little purple shelf has some fun teacups and some bird eggs.  I found the chandalier at a yard sale for $5 and had the hubby rewire it and I covered the mini shades. The wicker chairs sign was a bargain I picked up at work ( I work on a store with a ton of home accessories- LUCKY ME!!) The clock was a thrift store find and the wicker frame and postcard I picked up at a yard sale and redid.  And last but not least, the wicker planter was also a yard sale find and the geraninums were an end of summer closeout at work!!


This is inside the dressing room area- I know the ugly dresser needs to be painted! It will when the weather gets warmer.  This area also has a wicker chair, a coat rack, mirror, and a small wicker coffee table used as a luggage rack.


This vanity table was a Christmas gift from my husband years ago.  I still sit here every morning to do my makeup!!
Some info you also might be intersted in:

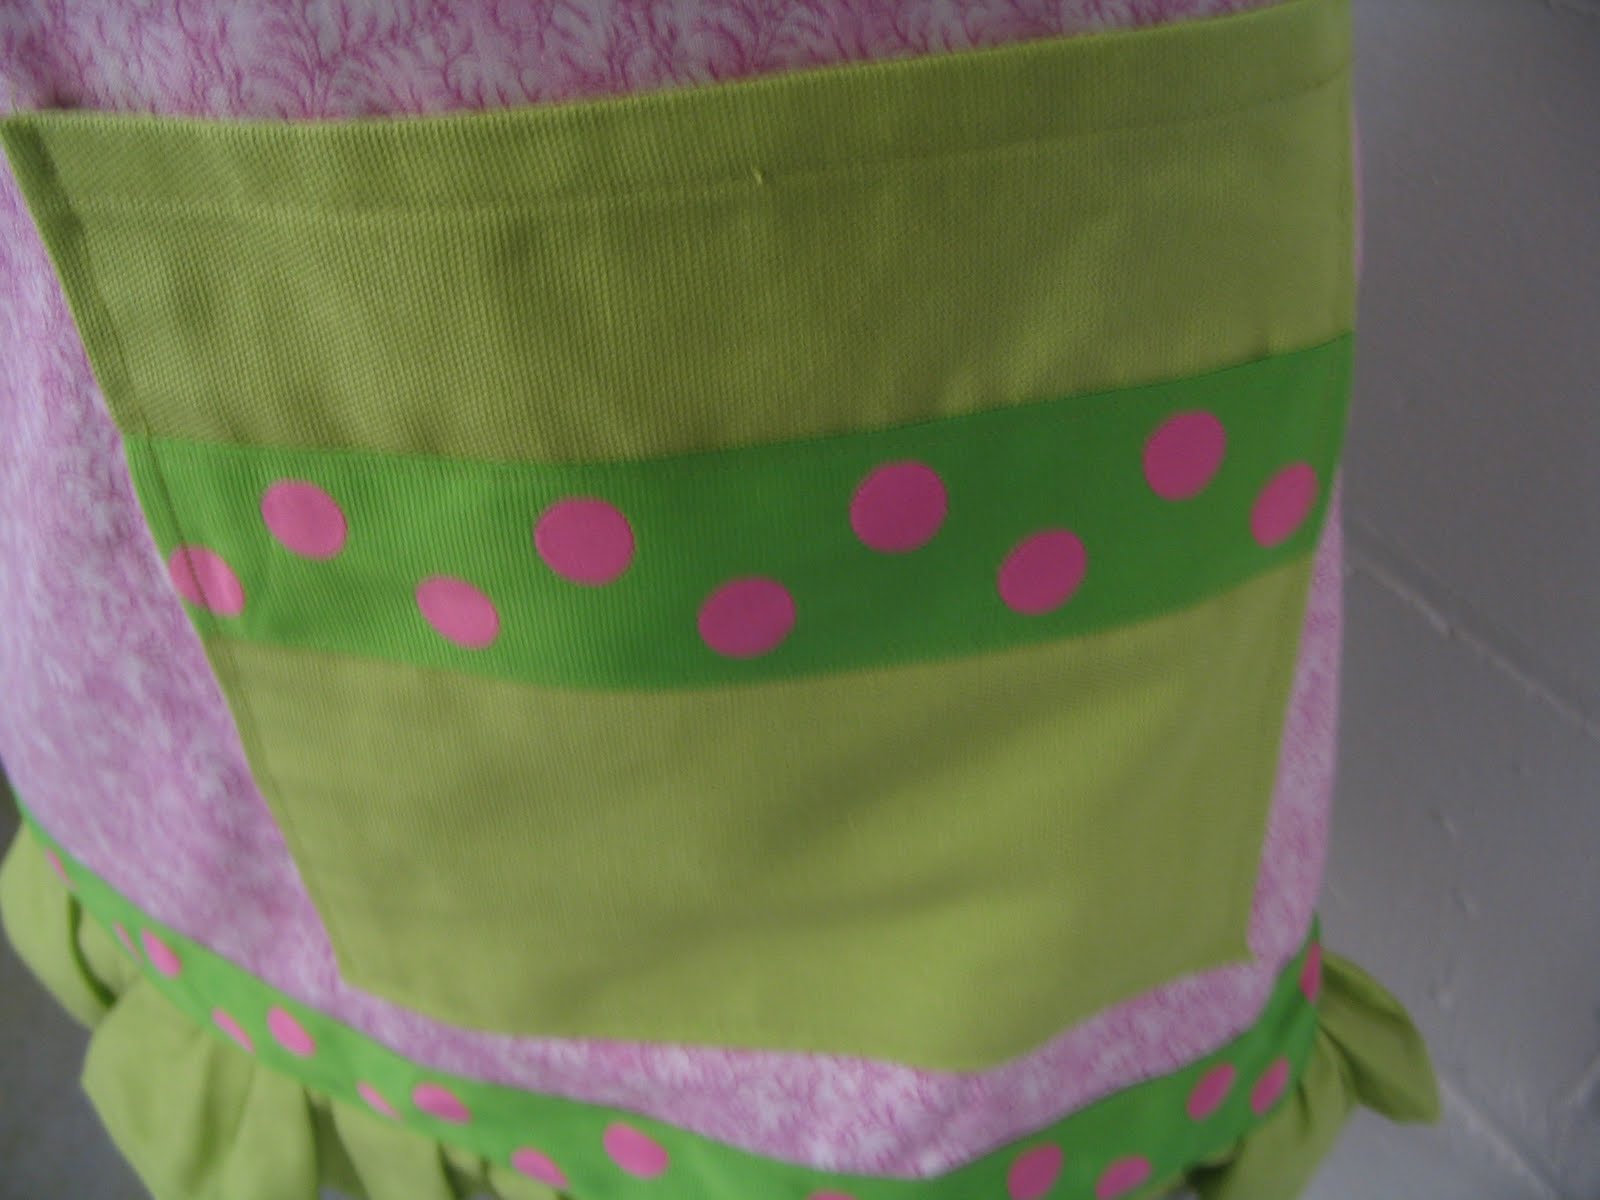
The purple floral fabric used inthe room is "Sweet Violets" by Waverly.  It is discontinued but you may find some around.

The green paint is Willow #wv34008 from Waverly Home Classics at Lowe's.

I hope you enjoyed looking inside my guest room.  I would love to hear your comments!!

Kari


Linked to:

poppies at play home tour


Photobucket

Vintage Inspiration Friday

<<br><br><br><b>Join us every Friday...</b>

Friday, March 25, 2011

.99 worth of Burlap!

Oh my it's Friday already and have have not posted at all this week. I have been super busy and have not even found the time to read all those blogs I follow.

Anyway I will make this post short and sweet!! I found some burlap at the thrift store before it became so popular and this is what I created using .99 worth of burlap..........Enjoy........

Kari


Linked to :


 http://linda-coastalcharm.blogspot.com/

Photobucket

”beneath

Sunday, March 20, 2011

First Day of Spring Apron

I suddenly find myself wanting to sew aprons!! I LOVE to sew and I have had a ton of fun taking a basic pattern and making it my own!!

So to celebrate the first official day of spring- its raining here so not so spring like- I am sharing this pink and green apron.


I just embelished a basic apron pattern by added the polka dot ribbon, the covered buttons and the ruffle around the bottom. I also added for the photo a necklace with a fabric flower!

Very "springlike" don't you think?

Happy first day of Spring!!

Kari

Linked to:
Sundae Scoop at http://iheartnaptime.blogspot.com/


Funky Junk's Saturday Nite Special

Thursday, March 17, 2011

Where I Work

I am fortunate or maybe not, to work 2 part time jobs along with working on my booth at Not So Shabby.  One of the places I work is a locally owned department store.  I work in the housewares dept. which means lots of kitchen stuff plus lots and lots of home accessories and "gifty" items.  It is a fun job and I take home way too many things!!

I thought in this post I would show you some of the fun things that we sell.  As we get more fun things in I will update my posts.  In the meantime enjoy!!!

Kari


A purple polka dot market basket and a messy counter!

A cupboard full of fun dishes!

Lots of fun things for Spring!

A bunch of colorful flowers!

Some cute metal birdies!


Sunday, March 13, 2011

My New Love-Signs

I totally love to create but if you are following this blog then you know that!!!!!  Sewing is my fav but I love to create just about anything.  I get inspiration from all over and all those wonderful blogs I follow!

Signs tend to be my new fav right now.  I just love to go browse at the Restore for scrap wood.  Here are a couple of signs I came up with:

The Home sign was done using my Cricut and the Basic Shapes and George cartridge.  I did this by creating a stencil with the outline of the work and then stenciling it on my Restore scrap wood.


I created the crown sign using the same method I used on my subway sign, reverse stenciling with  clear contact paper.  The crown is from the Solutions Home Decor cartridge.  I love these and they were so easy to do!!!

Kari

Linked to:
Debbiedoos Newbie Party
Wow us Wednesdays
Whassup Wednesday
Tatertots and Jello weekend wrap up party

Tuesday, March 8, 2011

Some Thrifting Finds

Every week on my day I go "thrifting" or "junking".  It is my favorite thing to do and I almost always find something.

Here are my latest finds:

Now for the rundown on my finds.......The clock was the most expensive at $3- a lttle more than I wanted to pay but I really liked it.  The shoes were $.50-brand new lifestride so cute and comfortable. The white bucket was $.50 and the display easel and the mason jar were $.25 each.

I think I will stencil numbers on the bucket and I will use the easel in my booth at "Not so Shabby"  I will use the mason jar for some sort of display.  The shoes I will wear on a hot date with Mr. Details and the clock I will just use for a display in our cottage.

So tomorrow is my day off and thrifting I will go......!!!!!!!

Kari

Linked To:
http://romantichome.blogspot.com/
http://frenchcountrycottage.blogspot.com/
http://verymerryvintagestyle.blogspot.com/2011/03/glitter-shakers-part-2-share-love-link.html

Sunday, March 6, 2011

Toile Apron

 I have always been a sewer.  I wanted to make myself a skirt I could wear to school in 1st grade!!  My mom was not a sewer so that was not going to happen.  I really learned to sew in 7th grade Home Ec.  My love of sewing blossomed from there.  In high school I made most of my clothes.  I even made my prom dress for the senior prom and I combined 2 patterns to do it!!!

Now I mostly sew home decor items, pillows, curtains, tablecloths etc.   Of all the items I have sewn I HAD NEVER MADE AN APRON!  That is usually the first thing you make when you are learning....not me!!!! 

With the popularity of aprons on the rise I decided to try my hand at it!!  I had some toile left over from another project and I had a yard of a black- white check that I picked up at a thrift store.  I also had some cute polka dot ribbon left over from another project.  So I used a pattern that I had found for a dime at a yard sale and starting sewing.

I added a little red flower I made to make it more fun.  I then took it to work and photographed it on one of our mannequins.  ( you can also see some of the fun stuff we sell at work and I will post about that later)

I love my very first apron made by me!!!!!  Here is another photo.


Maybe I need to make some to sell!!!!!!!

Kari

Linked to:
debbiedoos newbie party
http://www.myuncommonsliceofsuburbia.com/
nifty-thrifty-Tuesdays
tatertots and jello weekend wrap up party

Tuesday, March 1, 2011

My First Subway Sign

A couple of weeks ago I decided to create  or try and create a subway sign about my hometown.  I have read so many different methods about how to do this.  I decided to use my cricut and the reverse stencil method.

First, I purchased a scrap piece of lumber at the Habitat Restore.  (I love to get recycled lumber there) Then I went to Target and purchased some clear contact paper.  I then primed the board with Kilz and painted the front side only with  buttermilk Delta Ceramcoat paint, 2 coats.  While this was drying I figured out what words I wanted to use and what fonts and sizes.  I then cut them out with the cricut on cheap paper and layed them out on my board.  I did note the font and size of each word on a scrap piece of paper so I would know how to cut them out on the contact paper.  After tweeking a bit and getting the layout just right, I cut them out on the contact paper.

This step was the most labor intensive.......I peeled the backs off each letter and then stuck them to the board making sure the spacing was correct and straight.  I triple checked to make sure all the letters were all stuck down tight as I wanted no paint to bleed under the letters.  I them painted over the whole board with blue velvet craft paint, 3 coats.  I let that dry for 24 hours and then carefully pulled off each contact paper letter.  I touched up a few but I love the end result!!!!!


Not so bad for the first try!!!!!  I put this up for sale in my booth at "Not so Shabby"
Now I need to do one for me!!!!!!!!

Kari

Linked to:
http://savvysouthernstyle.blogspot.com/
Tatertots and Jello Weekend wrap up party